

It has been a pleasure to share the joy of art with my high school students. I am blessed with the good fortune of being able to admire beautiful works of art created by my talented students. Student art is to my eyes what chocolate is to my taste buds. Very satisfying, indeed. Sometimes intricately complex, sometimes blissfully simple. Leaves me wanting more. Time to share.....


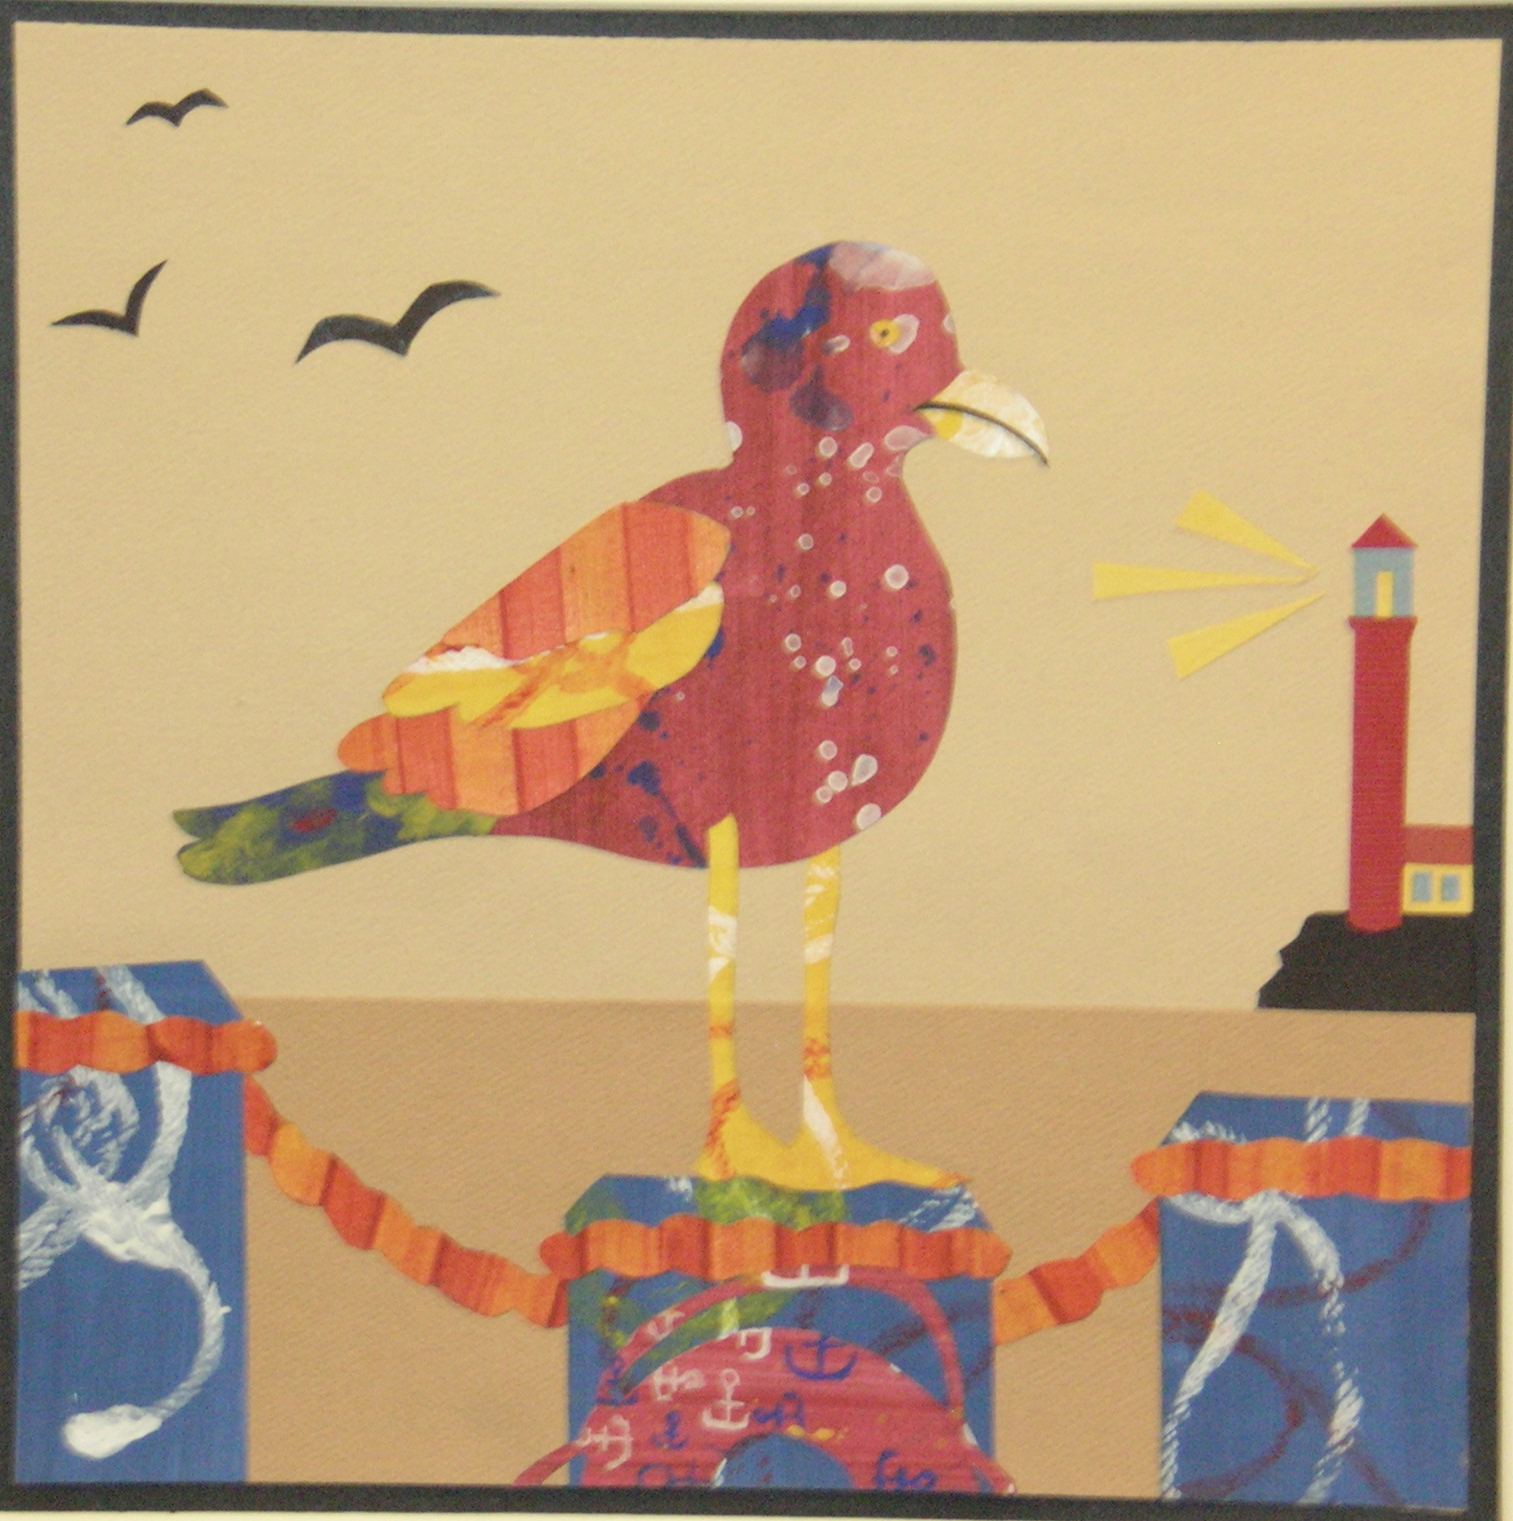
Students in the introductory art class work on an abstract painting using a pre-collage method I learned about from a U of M art professor. They really enjoy creating this painting as they focus on color mixing, composition, and color schemes.
To learn more about the abstract project below, click here.


JIM DINE, American Pop artist, was able to make a simple tool (hammer, pliers, etc.) look really fabulous. After studying his work, my students were inspired to create these
lovely charcoal drawings:


Oh my...what to do about digital art. We want to do it, we just don't have enough computer labs at my school. We can get the lab signed out for a few days, but not weeks. So, we create drawings in class and scan them for use in our digital collage. This student enjoyed creating anime-type drawings which lent themselves well to the collage process.


Ceramic Tripod Mugs
First, check out this fantabulous video describing the process tripod mug tutorial
Let your students imagination soar as they decide what type of impression they will make on their mug. Lace, buttons, leaves or even clay stamps they made themselves. I give students a paper template measuring 5" by 11" to cut out the rectangle. They make the impression BEFORE they cut out the rectangle. Biggest problems to look for...lobsided shape caused by pushing down on the mug, thus compressing/bending one of the 'legs', legs not evenly spaced (put 3 evenly spaced marks on bottom edge), seam gets distorted/thin due to too much pressure, handle falls off due to poor score and slip). For lots of image examples of mugs check out my pinterest boardhttps://www.pinterest.com/debbibee/7bceramic-vasesmugsvessels/

Totem Poles-Ceramic
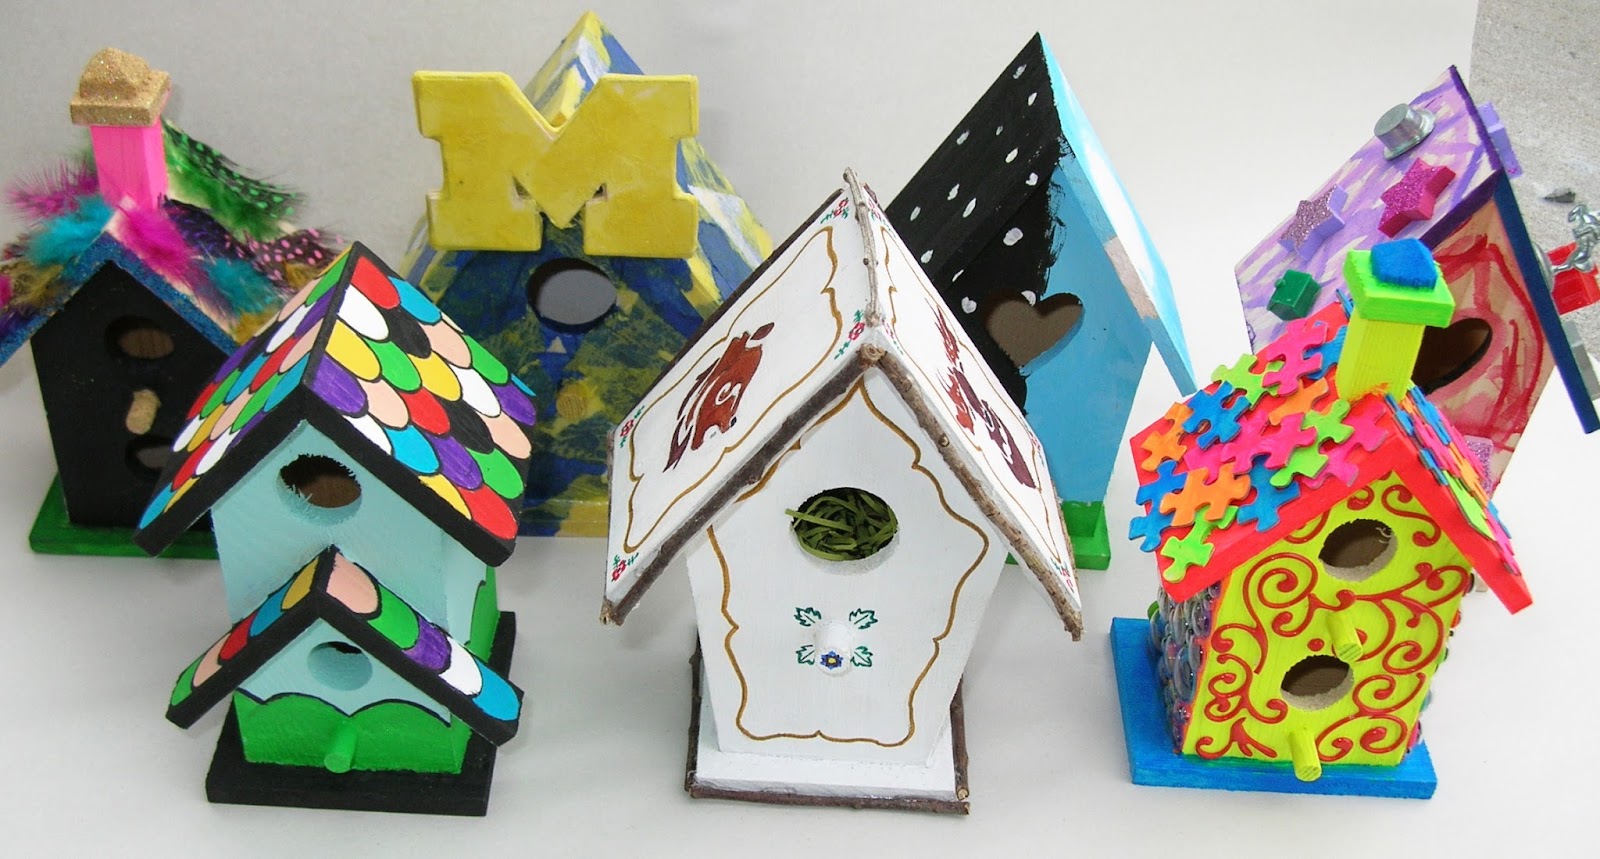
Start ceramics class off with a small project that allows students to learn a variety of processes without wasting too much clay and glaze on those inevitable and highly educational FAILS. Fails happen more often in ceramics class than other one I teach. I've learned to love the little failures because they save us lots of time and money making big failures. Students make a HAT, NECK, and FACE. We all use the same size dowel for the hole. They are painted with acrylic, then a thin layer of black wash or white wash is applied which provides a sense of unity when the various pieces are mix-n-matched on the poles. Holes are drilled in a painted wood base and dowel is glued in. Most of them are pole-worthy...some aren't, but that's okay because THIS is a learning experience!


Shapes were cut from 1/2 thick slab and placed inside a bowl lined with paper towel. The clay can remain in the bowl until it is dry. Students really enjoyed coming up with pattern ideas. However, breakage is frequent in the greenware stage unless great attention is paid to scoring and slipping!


This is our final project of the year....when I have excess clay leftover. These largish bowls are fast and fun! Students enjoy going outside to gather leaves in spring. They roll out a slab, lay the leaves on the clay, use medium/hard pressure with a rolling pin, cut out a circle (using a template) and place the circle on top of a plaster mold. We set the mold outside in the sun so it will stiffen up within 30-40 minutes. At the end of the hour they take the bowl off the mold. After bisque firing, they apply one coat of underglaze, wipe it off with a sponge (glaze remains in the impressions) and apply 2 coats of clear glaze. For detailed instructions and photos visit this page.


Another favorite tile....this student made this tile from a mold. There are no words or item in the hands in the mold, just the character and ground. The student would customize those two features for each tile. He would also change the facial expression to match the mood of the message. Brilliant!


Ceramic students and 2D students were involved in a community service project that raised funds to help support our downtown holiday light show. Students made ornaments for a tree that was auctioned (along with many other trees donated by local groups) to the public. A local business was the highest bidder for our tree and displayed it in their office. The ornaments depicted each student's favorite local establishment, event or location such as a bakery, restaurant or park. Students inserted high temp. wire loops into the clay while it was still soft. The backside of the ornament has the name of the business or location.


2D students drew their image on shrink plastic (aka Shrinky Dink) with prismacolor colored pencils. They made a frame from cardboard which was custom-sized and painted. Some students drew a design on the cardboard with Elmers glue before painting to create a raised design effect.


My Intro Art students get the little 3x4 easy-cut printmaking blocks from DickBlick. They have to make an image that connects to itself to make a repeating pattern. We do this project in early December. Many of them make holiday designs and print the image many times on a large sheet of paper ( cut from an inexpensive roll of paper) to make their own giftwrap. Just imagine how pleased mom is to get that gift.


Level 2 and 3 students get larger print plates.


They all have digital camera's...err, phones, right? We all know the alphabet, right? Let's go exploring, shall we? What do you want to spell?

There you will find instructions on how your students can participate. In short, students draw a portrait of an orphaned child and make a small donation to the cause. The portraits are delivered (a video is taken of the delivery event and you can access it online to see the child receive the portrait!) and EVERYONE is happy. Win. win. win. I have my students use the grid method to get an accurate likeness. We don't want any distorted portraits getting delivered to the little ones!

Abstract Design. I shall never tire of the endlessly creative designs my students invent. In any medium, abstract design is always one of my favorites.


You can learn all about Heidelburg by visiting these websites:
Heiedelburg Project official website has links for educators http://www.heidelberg.org/
Youtube Video direct link to fantastic 4 minute video http://www.youtube.com/watch?feature=player_embedded&v=E6w6WGokjTU

I use my Pinterest boards almost daily in the classroom to show examples of projects, connect to helpful tutorials or provide organized images for students looking for ideas. If a student is absent on a demo day or doesn't quite grasp a concept, I can easily direct them to a tutorial. I number the boards to make them easy to reference in class. Need ideas for your ceramic coffee mug? Check out board 7b! I also have a collaborative 'secret board' I share with my AP Art students to use as a space to share images and provide feedback and critiques as well as updated news about assignments, contests, etc. Feel free to use my boards in your classroom or simply follow me on Pinterest.

For a fun, collaborative classroom project idea click here http://theskillfulbee.blogspot.com/2013/06/collaborative-art-project-puzzle-piece.html
Beautiful work! You really bring out the best in your students! Thanks so much for sharing!
ReplyDeleteThose are great projects! I love the idea of using paint chips to stick to a color scheme. It's one of those ideas that lead to "Why didn't I think of that, and why didn't my own art teachers help me like that?"
ReplyDeleteThank you for your kind words. I appreciate that!
ReplyDelete