
.jpg)
These adorable little stars are fast, fun and easy to make. Once you get in the swing of making them you won't want to stop! That's what happened to one of my art students, Christina. She loved creating her own simple patterns on colored copier paper that she cut into narrow strips. Then she folded the strips into neat little 3D stars. It wasn't long until she had a bag full of them, which led to a small problem....what do you DO with all those stars? She used them to make a 3D work of art. And she gave some to me. I used them to fill a pretty little jar. Thanks, Christina!
Here is a short visual tutorial. If you would like more detailed instructions simply do an internet search for 'lucky stars' and you will be sure to find all kinds of tutorials online.
Cut copier paper into strips about 3/8 inch wide by 8 1/2 inches long.

Tie a knot....

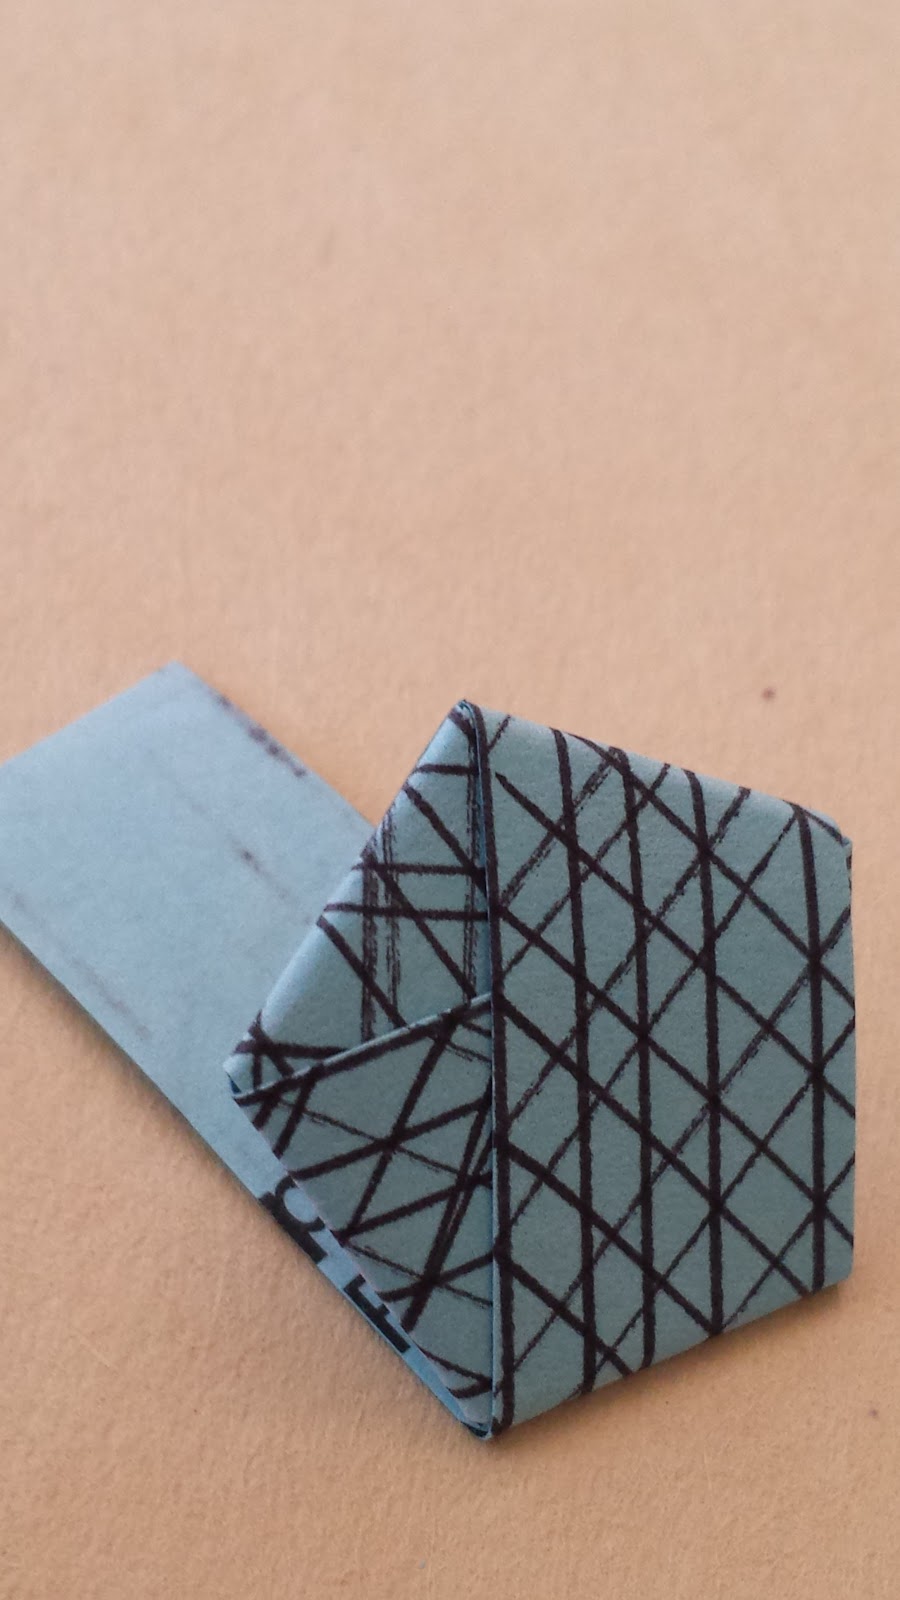
Ease the edges in to form a perfect pentagon as you press folds.

Fold the short end in...cut it shorter if you need to.

Turn and fold, turn and fold, turn and fold. Neatness counts.

Tuck the end in. Cut it shorter if you need to.

Let your instincts guide you as you gently push in the sides to form the 3D star. Use your fingernail or the edge of a butter knife or anything else with a fine, thin edge. Think 'pillow'.


Experiment. Explore new ideas. Create.


No comments:
Post a Comment
Thank you for your comment/inquiry. I moderate comments before posting them. If you have an inquiry that requires a response please include your email address (I do not post inquiries or your email address).