

I had read about dyeing wool with food coloring but I doubted how effective it would be. I thought the colors would be muddy, muted or bleed easily. Wrong, wrong, wrong. This was so incredibly easy! You will find various methods posted online. I combined idea's and came up with a method I found to be extra easy and relatively neat and tidy. This is 'The Skillful Bee' method:
1. Fill quart jars 1/2 full with water and place in canning pot filled to about the same level as water in jars. Just before it starts to boil, turn off the heat.
2. Add about a teaspoon of food coloring. I used gel food coloring, which is concentrated.
3. Add about 1/4 cup white vinegar to each jar and stir.
4. Put a wad of wool batting or roving in the jar. Make sure the wool is completely immersed.
5. After about a half hour, remove the wool. Rinse with water that starts slightly warm then change to cool water so you don't shock the wool temperature all at once. Rinse till water is clear. Gently squeeze out excess water and lay wool on towel to dry.


I am thrilled with the results. The colors are vibrant and colorfast. I didn't have to worry about using harsh products. It was easy to clean up and super cheap! ( I got my wool for FREE from a local petting farm...but I did have to pay to have it cleaned and carded)
I can't wait to start felting with my new colorful wool!
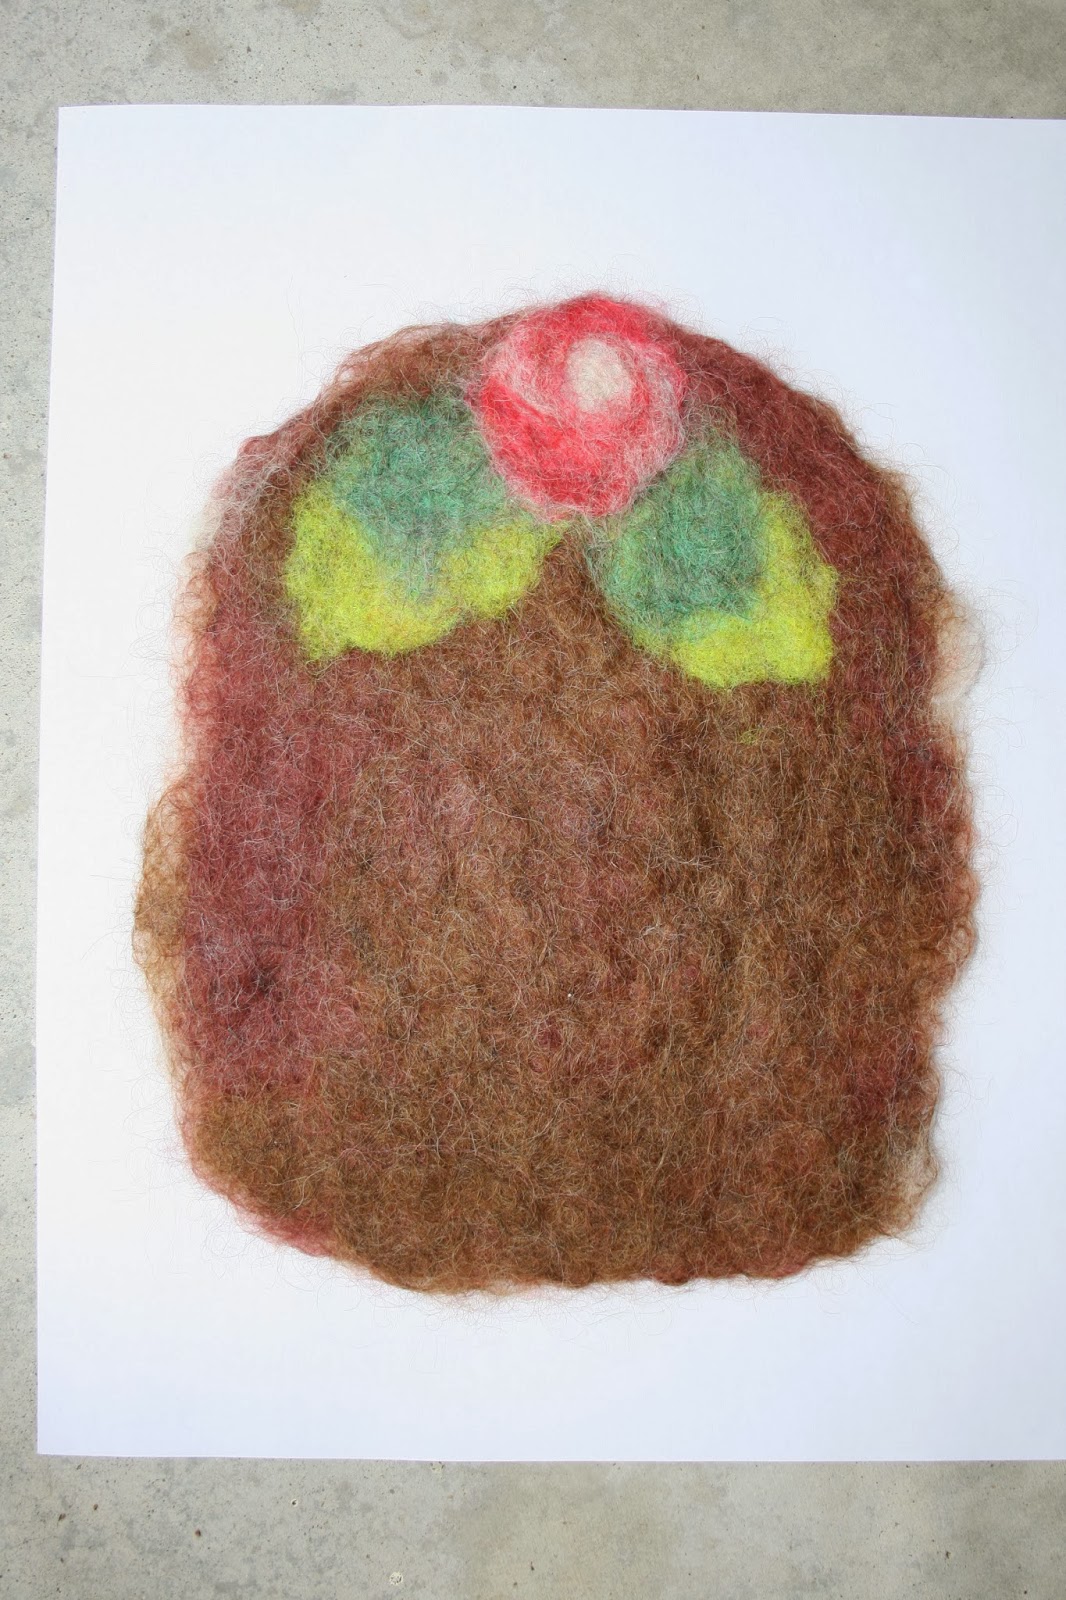
NOTES and OBSERVATIONS: I added more wool to the jars because I thought I could squeeze a little more in. Some happy accidents that occurred were that the wool on the inside of some of the larger, compacted wads didn't get fully saturated so I got some blended colors (very pretty). Also, I found I had to add more vinegar with subsequent additions or the color didn't penetrate. The color on the subsequent wads of wool were less saturated, as shown in the yellow example below. I put in a total of three wads of wool, each about 10 minutes apart. I added a couple of tablespoons of additional vinegar with each new wad.
I had read that the wool should be soaked first. I'm not a very patient artist, so I didn't soak mine. There was some uneven coloring, which I liked. If you want smooth, even coloring you should probably soak the wool in clear water first.

A little bag to hold my glasses....
I laid out my design on a cookie sheet with a piece of bubble wrap on it. Then I added some hot soapy water and rubbed it back and forth and all around...for about 20 minutes. I wrapped it around a 12" long piece of foam swim tube (dollar store), then wrapped the bubble wrap around it and taped the edges closed. I rolled it back and forth until it shrunk to the thickness I wanted. Yes...it all seems very unlikely...but it works!

A little stitchery to add some detail...and a little white mother of pearl button.

I stitched up the sides and added a snap closure.
This will keep my glasses safe inside my 'purse jungle'.
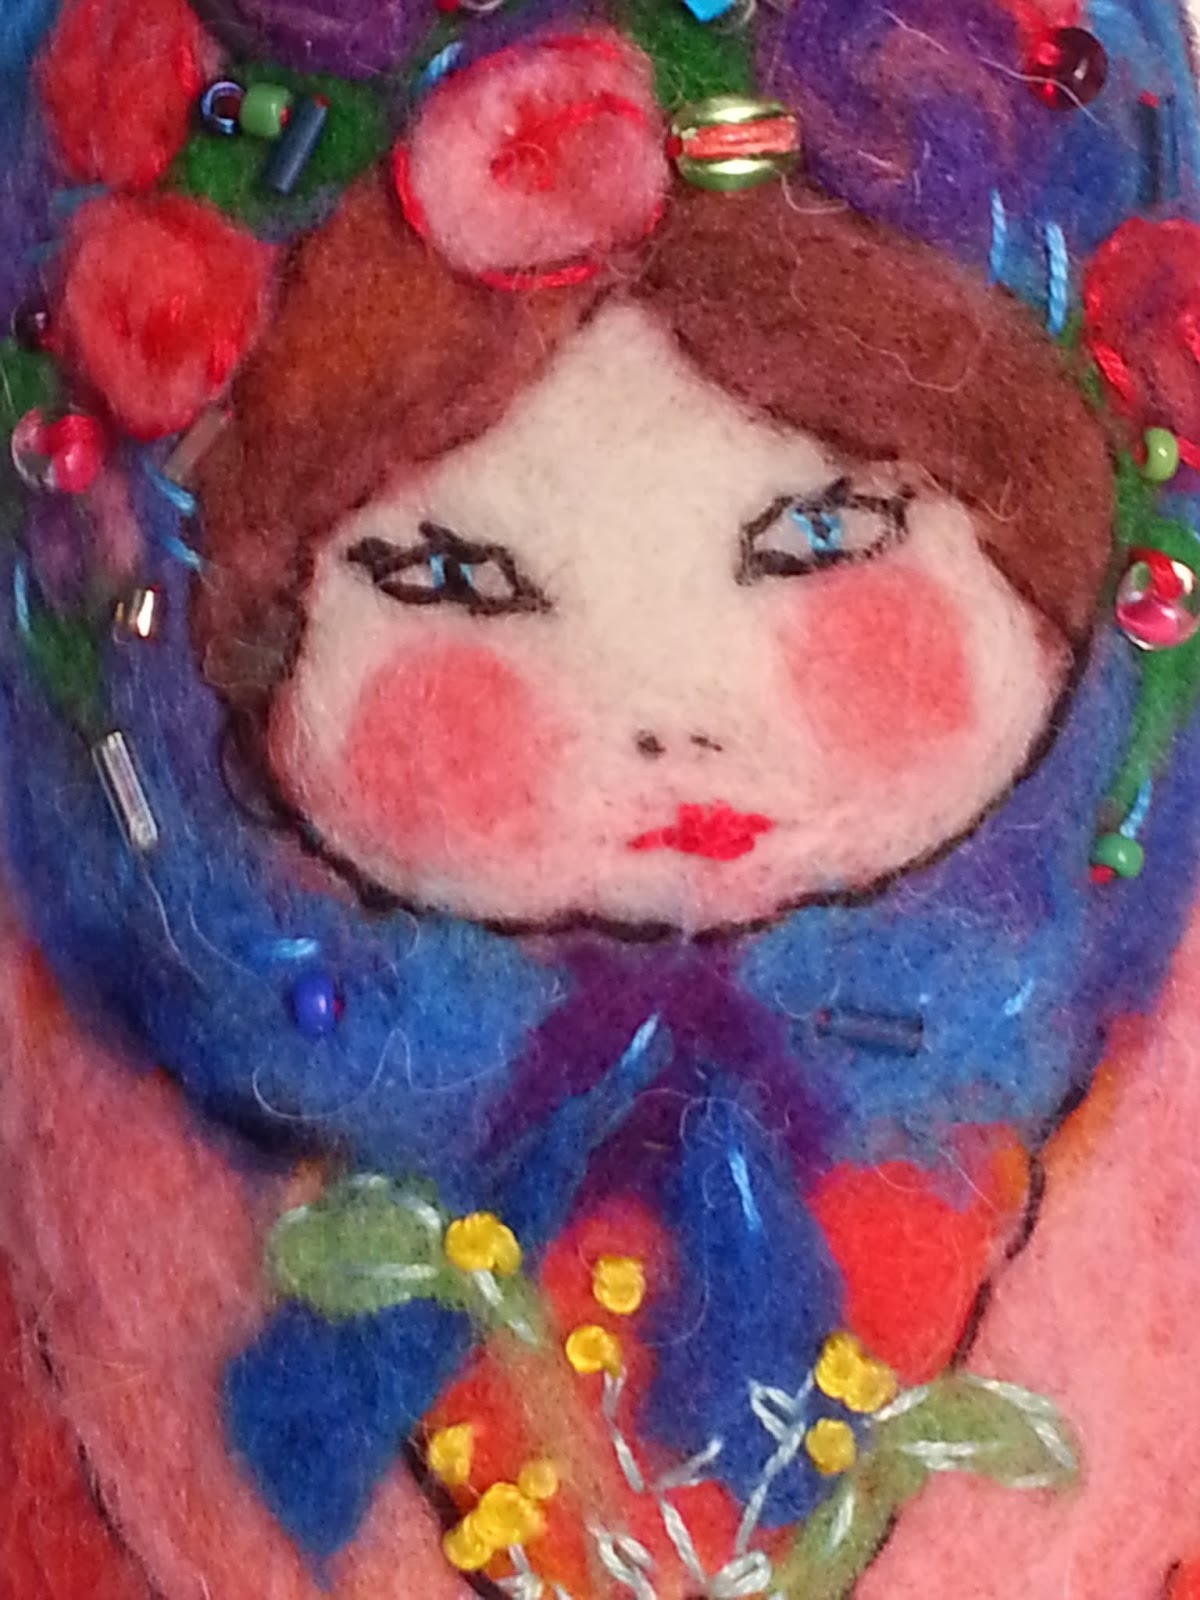
A Matryoshka for my beautiful granddaughter...

First, I laid out a very basic pattern of colors and felted it as described previously.


Once I had most of the details on, I used embroidery thread and some beads to embellish my design. Eventually, I wanted the Matroyshka to be 3-dimensional so I wrapped the flat piece of wool around wool stuffing into a cylindrical shape and used a felting needle to meld it all together. It's really fun to 'sculpt' with wool! There are no sewn seams...only wool felted together to make a nice, solid shape.


No comments:
Post a Comment
Thank you for your comment/inquiry. I moderate comments before posting them. If you have an inquiry that requires a response please include your email address (I do not post inquiries or your email address).